Summer Garden Salad

Basic doesn’t mean tasteless. Sometimes keeping things simple, combining a few fresh ingredients makes the best dishes.

This salad is perfect for backyard gardeners as all but one ingredient can be found in most gardens. A pluck, wash, chop and eat salad that can be thrown together in a few minutes, this may be a new favorite.

{Summer Garden Salad}

[Ingredients]

  • 1 cucumber
  • 3-4 Tomatoes
  • Basil leaves, chopped
  • 1 fire roasted yellow pepper (You can do this at home, just follow this recipe)
  • 1 clove garlic

[Directions]

  1. Slice cucumber and tomato; place in bowl.
  2. Coarsely chop basil leaves. Finely dice garlic. Add to bowl.
  3. Chop roasted yellow pepper. Add to bowl and mix well.
  4. Chill for at least 30 minutes before serving for best flavor.

Cheers,

Danielle

Mango Black Bean Quinoa Salad

The days are getting longer and the sun has been showing its glorious face the last few days. Hooray for Vitamin D!

Our small group had a little Cinco de Mayo party yesterday and I made this salad. It’s fresh and simple with the perfect balance of nuttiness from the quinoa and sweetness from the mango.

Throw together salads like this are my favorite. It only takes a few minutes to put together, they are portable, and taste even better after a day.

{Mango Black Bean Quinoa Salad}

[Ingredients]

  • About 1 cup mango chunks
  • 1 1/2 cups (loosely packed) fresh cilantro
  • 1 can black beans, rinsed and drained
  • 1 cup dry quinoa
  • 2 cups water or vegetable stock
  • 1/2 red onion
  • 1 red bell pepper
  • 1/4 cup pineapple juice
  • 2 TBSP lime juice
  • 1 avocado, diced
  • 1/4 tsp salt
  • Black pepper, to taste
  • Chili powder, to taste
  • Paprika, to taste
  • 1/4 tsp garlic powder

[Directions]

  1. In a rice cooker or on the stove top, cook 1 cup of quinoa with 2 cups of water.
  2. Meanwhile, in a food processor, combine cilantro, mango, and pineapple juice. Pulse until smooth. Place mango-cilantro mixture in a medium bowl.
  3. In the food processor, pulse red onion and bell pepper together to desired consistency.
  4. Once quinoa is cooked, add to bowl with mango-cilantro mixture. Stir together with red onion-bell pepper mixture and black beans
  5. Add lime juice and spices. Stir to combine then gently fold in diced avocado.

Cheers,

Danielle

Back to the Blog

It’s been far too long, friends, and I’m happy to finally get back to blogging! After a long but amazing 14 weeks of my clinical rotation, I will now have the time, brain power, and energy to string coherent sentences together after 5 PM.

Stay tuned for posts about my clinical case study and what to expect during the intense 3-month rotation.

Some how May is here and am both excited and feeling unprepared the warmer weather. My hubby and I decided that we would let our backyard, aside from mowing the grass, do it’s own thing last year. We had just moved into the house, both had relatively new jobs, and I was beginning my internship. It just wasn’t a big priority. Well, now that we suffered through a season of being somewhat ashamed our the jungle we allowed to rise up, we have committed – at least mentally- to fixing up the yard. It’s May and our weekends are basically double booked and we have not even set foot in the yard to pull a weed.

This was…scratch that, IS the year my attempts at gardening will be successful. Do you think I’ve picked up seeds or started any thing? That would be a no. But now that I’ve blogged about it, I’m committed to chronicle the adventure for you all here.

If any one has any advice on the following, I’m all ears…

  1. Enjoy yard work
  2. Create/plant a LOW maintenance landscaped backyard in Zone 5 (Southwest Michigan)
  3. Successfully plant and care for “raised bed” garden – as in what veggies grow best. I’m using stainless steel containers…

With all the chaos that life has been, quick and easy dinners have been a must. Enter the runny-yolk egg that turns basically anything into divine deliciousness. Below is just one of the many, many ways to create a healthy, satisfying dinner from pantry staples in under 20 minutes.

{Soft egg Sweet Potato Boats}

[Ingredients]

  • 2 large handfuls baby spinach
  • 1 small-medium sweet potato, cooked. (I cook mine in a 350F oven for 2-3 hours. This makes the skin crispy and the inside soft and fluffy)
  • 1 egg
  • 1 TBSP chopped red onion
  • McCormick Montreal Steak Seasoning
  • Salt & Pepper

[Directions]

  1. Spritz a saute pan with cooking spray, add red onion and cook over medium heat for about 2 minutes. Add spinach and a few dashes of Montreal Steak Seasoning. Cook until spinach has wilted and is a deep green color.
  2. While your spinach is cooking, fry egg in a pan. Cook to desired yolk consistency. Salt and pepper egg.
  3. Cut your sweet potato lengthwise and fluff inside using a fork. Place wilted spinach over the top the potato then add your egg. Puncture the yolk to allow it to make a “sauce” over the spinach and sweet potato.

Cheers,

Danielle


14 Day Reset

With Christmas behind us and the New Year quickly approaching, we are all preparing our resolutions. Inevitably, many of us will scrawl down something about exercising more and eating better/losing weight on our list.

Even with sticking to my workout routine (Thanks Planet Fitness for being everywhere!), the toll of traveling and not being able to eat lots of greens like I usually do over the holidays has taken its toll. Any one else in the same boat as me?

I want to welcome in the New Year feeling my best and want to help you do the same! The 14 Day Reset will start January 1 to help us start the new year healthy and happy.

I will be posting 14 days of breakfast, lunch, and dinners that are whole foods focused, gluten-free, and dairy-free. Some grains will be included but my goal is have the majority of the meal plan free of grains. For everyone beginning the Whole 30 diet at the beginning of the year, this would be a great way to ease yourself into it.

To accompany the meal plan, I will post 2 grocery lists – one for each week. The list will include everything you will need to make all the meals for each week.

And we can’t forget about exercise! I will also be posting links to favorite workouts. If you’re like me and HATE a full gym, no worries. Lots of the workouts will be able to be done at home.

Let’s ring in the New Year with starting healthy habits! Hit the “Like” button or drop a comment to let me know that you will be joining me for the “Reset”!

Cheers,

Danielle

Cast Iron Pork Chops

I made these pork chops a few weeks ago when my mom and sister came to visit. I served them with smashed rosemary red skin potatoes and roasted asparagus.

We will call these “Left-over Thanksgiving Ingredients” pork chops. I had lots of fresh herbs and apples left from Thanksgiving and used these along with other aromatics to create a warm, savory-sweet dish.

My mom got me a cast-iron skillet for Christmas and I’ve been addicted to using it since. To clarify, we celebrated Christmas with my parents the first weekend in December. Being able to use one skillet that has such an easy clean up makes cooking a breeze!

{LOTI Pork Chops}

[Ingredients]

  • 4 pork chops
  • 2 small-medium apples, diced
  • 2 sprigs rosemary
  • 5-6 springs thyme
  • 4-6 leaves sage
  • 1 medium onion, chopped
  • 3 cloves garlic, minced
  • 2 TBSP olive oil
  • 1 TBSP butter

[Directions]

  1. Heat 2 TBSP olive oil in cast iron skillet over medium-high heat.
  2. Saute onion until translucent then add garlic and apple.
  3. Cook apples for a 1-2 minutes then add rosemary and thyme leaves.
  4. Add butter and pork chops to skillet. Top chops with apple mixture.
  5. Cook on each side about 8 minutes or until the internal temperature reaches 145F.

Rosemary Garlic Hummus

So, to be fair and honest – the last post was written over a month ago. I FINALLY got around to making the graphic for it and then published it.

I’m disappointed that I took such a long break from blogging. It is a great outlet for my creative energy and a good way to process all the chaos of life. When I have to sit down long enough to string coherent thoughts together, I’m able to figure out why I’m feeling the way I am. Cooking is and always has been a stress reliever for me and I so enjoy sharing this passion with other people. I’m feeling renewed, inspired, and ready to jump back into blogging! 🙂

I am proud to say that I hosted Thanksgiving this year, despite an oven that decided to up and quit just about a week before. Both turkeys turned out really well and I made created my own cranberry sauce recipe that everyone loved (humble brag intended).

I had planned on making a spread of appetizers but people trickled in so close to when the grand feast would be ready, we ended up just munching on this hummus. Its a nice change from the normal varities that you’d find in the grocery store. Plus, homemade is free of the extra oils that store bought hummus tends to contain.

I’ve been making my own hummus for years. Trying out different recipes, combining recipes, or just making things up as I go along. The first few attempts didn’t turn out too well – I got thick, crumbly hummus instead of smooth and spreadable. I’m hear to tell ya, I’ve uncovered the secret to create smooth, creamy hummus. And because I’m nice, I’m going to share it with you so you don’t have to suffer through not so great hummus.

The trick is drain about 2/3 of the water off the chickpeas then add the remaining water and chickpeas to your food processor to make your hummus. So simple, right? I’m really hoping at least one other person didn’t know this so I don’t sound like an idiot 🙂

I also left my food processor on a few minutes longer than what I have done in the past. This helped to create almost a “whipped” consistency.

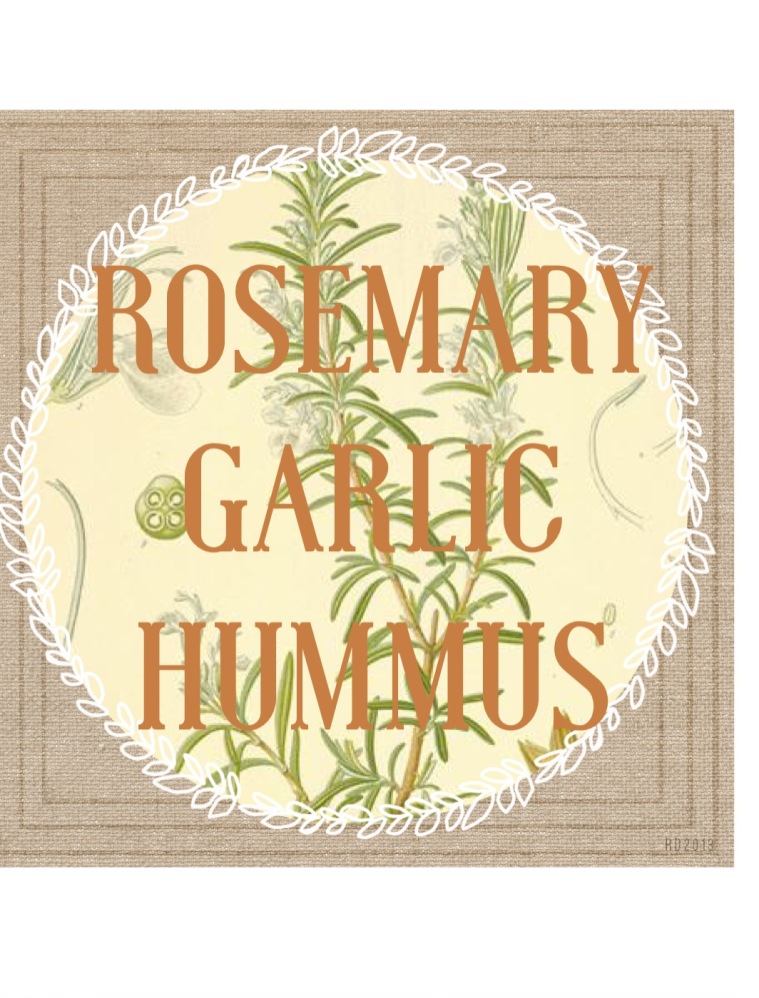
{Rosemary Garlic Hummus}

[Ingredients]

  • 1 can Chickpeas, 1/3 of the liquid remaining (or Garbonzo beans)
  • 1/4 cup olive oil
  • 1/4 cup tahini
  • 3-5 sprigs of fresh rosemary
  • Juice from half of a lemon
  • 3 garlic cloves
  • Pinch of salt and pepper

[Directions]

  1. Drain 2/3 of liquid off chickpeas, add what remians to food processor.
  2. Add remaning ingredients
  3. Put food processor on high and blend 3 to 5 minutes, or until smooth and creamy.
  4. Serve with fresh celery, carrots, cucumber, and pita points.

Cheers,

Danielle


A long time coming

After taking a long break from blogging, I’m ready to jump back in. I’d say I’m getting used to my schedule now, but as soon as those words leave my lips, my schedule will change again. I’m learning to embrace the chaos.

I’ve made a goal to blog once a week, on Sundays. I want to give myself some freedom in what I’m writing, I don’t know what that looks like but we will find out together.

Since my last blog post, I’ve started a new rotation and now have just a few weeks left. I’ve been working with the Food Group at Portage Public Schools. I’ve learned a lot and have a whole new appreciation for the work that school Food Service Directors do. While I can’t see myself landing in this area of dietetics post internship, I’ll always value the lessons learned.

My next rotation is hospital food service and while the change will be nice, it is also a new rhythm to learn. Such is the life of an intern.

In other news, I do plan to upload a lot of the projects from my internship.

On to the fun stuff! There is a restaurant in my hometown that makes an incredible cedar plank salmon dish. I decided to try to recreate it at home and I have to say it turned out pretty darn well. The recipe is below, enjoy!

{Orange Chili Salmon}

[Ingredients]

  • 4 salmon fillets
  • 4-5 TBSP orange marmalade
  • 1 TBSP soy sauce
  • 1 tsp onion powder
  • 1 tsp fresh minced garlic
  • 1 1/2 tsp chili powder*
  • 1/2 tsp chili paste**
  • 2 TBSP honey roasted peanuts, roughly chopped

[Directions]

  1. Preheat oven to 350F. Cover a baking sheet with aluminum foil, mist lightly with cooking spray.
  2. In a small bowl, combine marmalade, soy sauce, garlic, chili paste, onion powder, and chili powder.
  3. Place salmon fillets on baking sheet, season to taste with salt and pepper. Glaze with orange chili sauce and sprinkle with peanuts.
  4. Bake, uncovered, for 15 minutes. Remove from oven and glaze with remaining sauce. Return to oven and bake an additional 5 minutes.

* This is a rough estimate – in true Danielle fashion I didn’t use measuring spoons 😉

** Again, an estimate. Also, I felt that the sauce could have had more of a kick. Test your sauce and add more to fit your preference.

Cheers!

Danielle

Pumpkin Salsa

PSL season is upon us. Pumpkin is in now in EVERYTHING. And I would be lying if I told you that I haven’t enjoyed a little pumpkin in my life.

I made Pumpkin Creme Brûlée a few weeks ago and am planning on making Pumpkin and Butternut Squash soup soon.

This salsa recipe was an accident. I was given hot peppers and had an abundance of tomatoes. What else to make but salsa with those things in my fridge.

Here’s the thing: I’ve never made salsa before or used hot peppers in, like, anything. Guess what? A little bit goes a LONG way. I found this out the hard way. I had left over pumpkin puree from the creme brûlée so I decided to mix some in to see if it toned done the fire at all.  And thus pumpkin salsa was born.

Dip in with chips or use it as a topping over toasted bread for a fall fabulous bruschetta.

{Pumpkin Salsa}

[Ingredients]

  • 3-5 Roma tomatoes
  • 1-2 hot peppers, according to heat preference
  • 1 bell pepper
  • 2 cloves garlic
  • 2 TBSP lime juice
  • 1/4 of a large white onion
  • 1 cup pumpkin puree
  • Optional: Cilantro, to taste

[Directions]

  1. Rinse and halve veggies.
  2. Add tomatoes, peppers, garlic, onion, and garlic to food processor.
  3. Pulse until desired consistency.
  4. Mix in pumpkin puree and chopped cilantro.

Makes ~8 cups

Cheers,

Danielle

Peach Orange Creamsicle Smoothie

I slept in for the second morning today. And while it’s glorious to have the extra time to snuggle down under the cozy covers, I got out of bed this morning half wishing I had woken up in time to get a run in. I do enjoy the sleepy mornings around my house, silently moving through the house as Daniel still snoozes and our cat tries his best to be in my way as much as possible. I like that I get to remind Daniel after the 6th time his alarm goes off that it really is morning and he really does need to get ready for work. But most of all, I like that I get to make breakfast for Dan.

Most mornings I try to be out the door by 5:30 then shower and get ready for work at the gym. Since no one like soggy cereal or cold eggs, Dan has to fend for himself for breakfast. Meaning he grabs a handful of granola bars and a cup of coffee before heading out the door. And because he doesn’t like to take lunch with him, he often ends up eating a few more granola bars or a smoothie from somewhere on the road for lunch.  This makes the nutritionist in me cringe. So many simple sugars and refined bars, so little greens.

I left this morning happy knowing Daniel would be sipping on a cool smoothie filled with protein and fresh fruit. This smoothie gets incredibly fluffy from the Whey Protein Powder.  I have been using more superfood proteins so I forgot how much volume the whey add. This recipe will make about a 40 ounce smoothie! Like always, you can pour however much your hungry for then save the rest either in the fridge or pour into popsicle molds then pop in the freezer.

{Peach Orange Creamsicle Smoothie}

[Ingredients]

  • 1 cup Organice Orange Juice
  • 1 scoop Vanilla Designer Whey protein powder
  • 1 peach
  • 1 red banana
  • 1- 1 1/2 cups ice

[Directions]

  1. Add OJ, whey powder, ice, and diced peaches to your blending system and blend on the highest setting until smooth.
  2. Add banana and again blend until smooth.
  3. Pour a big glass for you and a friend, enjoy!

Cheers,

Danielle